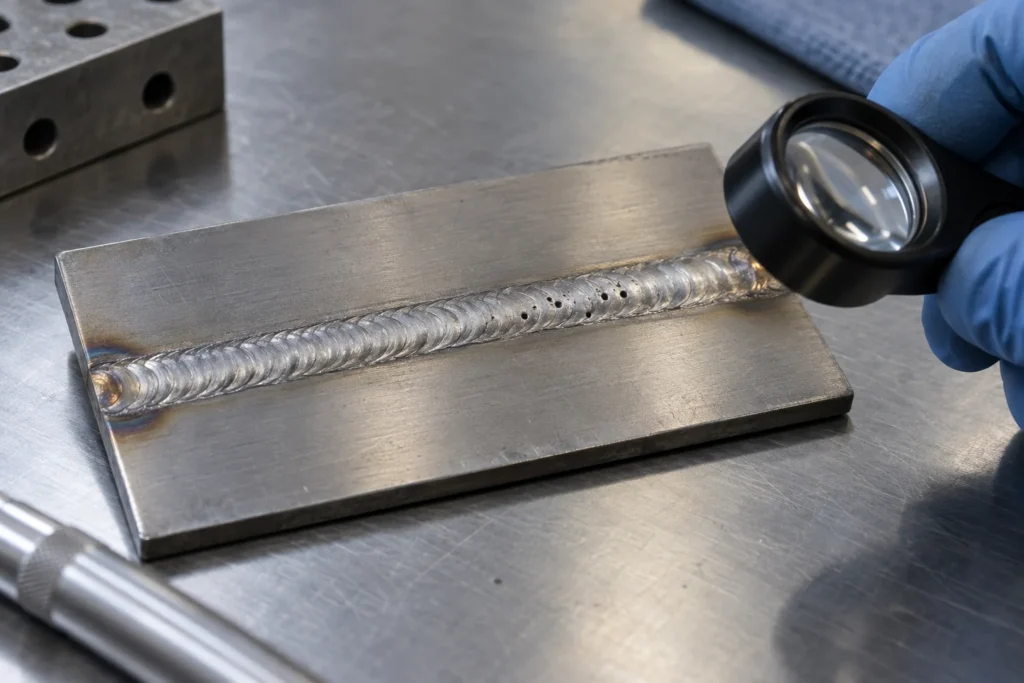
TIG Tungsten Contamination: Causes, Grinding and Prevention
Introduction
TIG tungsten contamination can turn a repeatable welding operation into a sequence of electrode changes, uncertain arc starts and interrupted production. However, a dark tip, a rounded end or an unstable arc does not identify one fault by itself. Industrial teams need to distinguish contact contamination, shielding failure, thermal overload and preparation problems before changing the welding procedure or replacing the power source.
This guide explains how to capture the symptom, isolate the likely cause and return a station to controlled production. It connects electrode inspection with shielding, AC/DC settings, grinding practice and procurement records. The proposed checklists are workflow aids, not a qualified welding procedure, a defect acceptance standard or instructions for internal machine repair. Use the applicable WPS, equipment manual and quality plan for the final decision.
What Is TIG Tungsten Contamination?
Contact contamination, oxidation and overload are different problems
The tungsten electrode sustains the arc; the filler is supplied separately when the procedure requires it. In practical troubleshooting, contamination means unwanted material has reached the electrode or its working surface. Contact with molten metal or filler is one route. A tip that deteriorates without visible contact calls for a broader check rather than an immediate assumption that the operator dipped it.
Record what happened immediately before the change. Was the arc already stable? Did the filler touch the tip? Did the symptom appear only after stopping? Did a new electrode behave normally until a particular joint position? Those observations are more useful than describing every electrode fault as 'bad tungsten.' Miller’s TIG troubleshooting overview distinguishes contact, burnback, discoloration and arc instability as related but separate checks.
An electrode symptom is not a weld acceptance result
A damaged tip may justify stopping the operation, but its appearance cannot establish whether a completed weld contains an inclusion or meets the project requirements. Preserve the location of the affected weld and ask quality personnel to determine the inspection or repair route. Do not grind the tip and automatically release the previous weld.
For electrode identification rather than fault diagnosis, use the TIG tungsten types and color chart guide. Keep classification, diameter and supplier lot on the job record instead of relying only on a painted end that may have been shortened or removed.
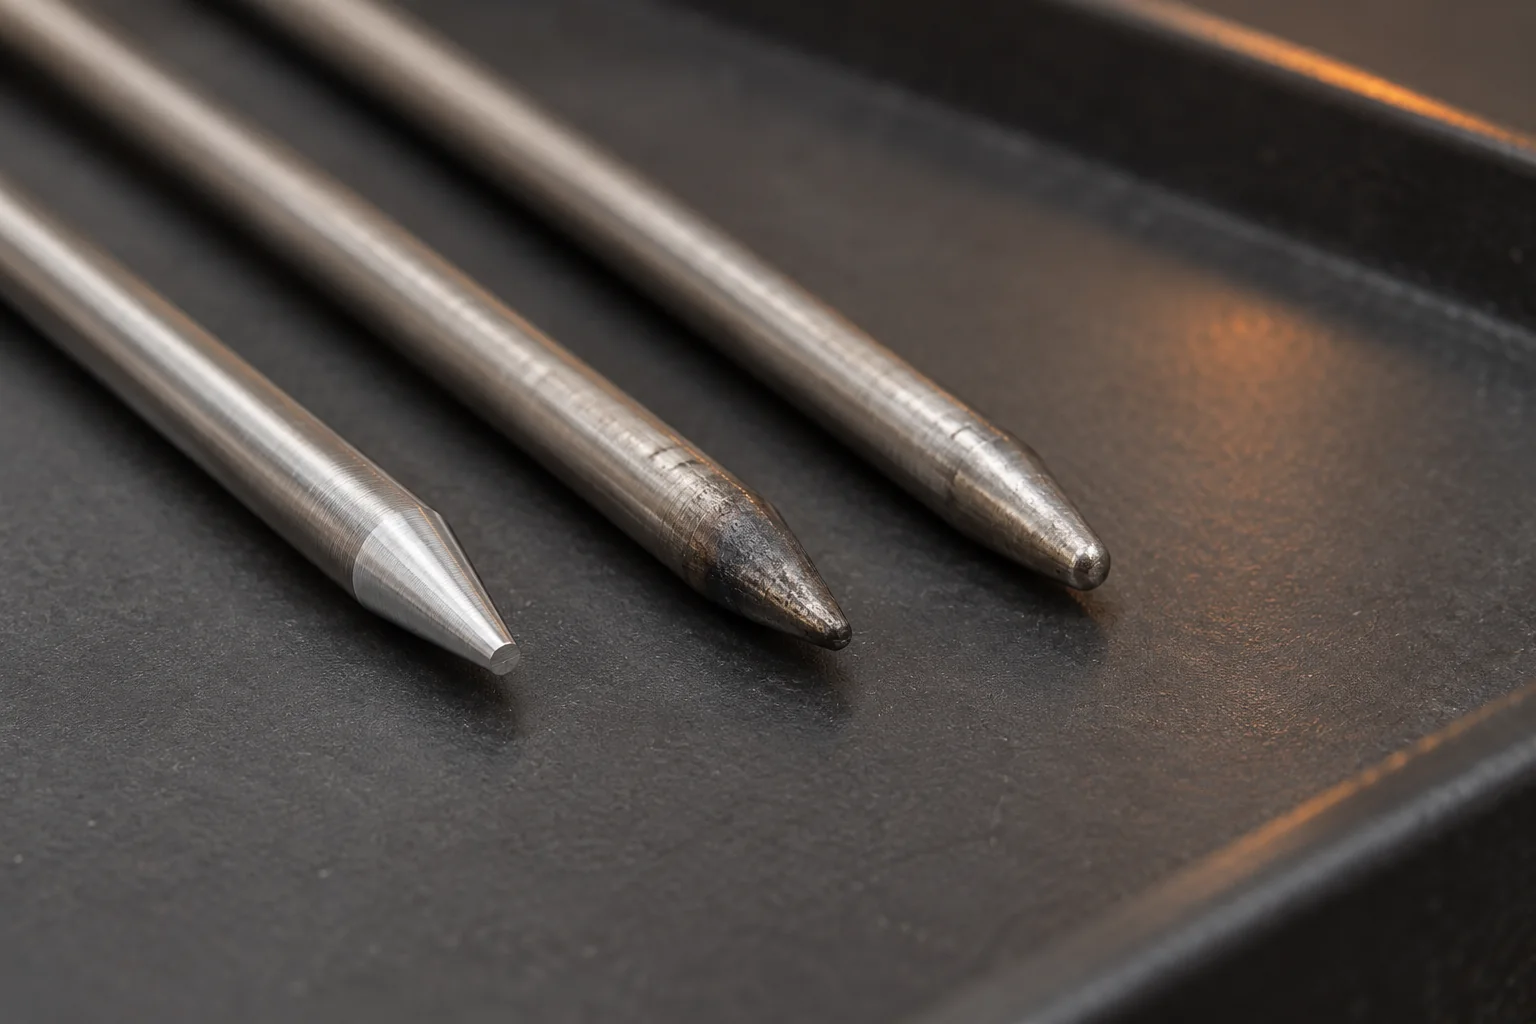
TIG Tungsten Troubleshooting: Symptom and Check Table
Use this table to choose the first investigation, not to declare a root cause. Several conditions can coexist. Keep the station safe, retain the original settings and verify any change on a representative coupon before returning to production.
| Observed symptom | First check | Controlled next step | Release evidence |
|---|---|---|---|
| Material attached after a dip | Recorded contact with pool or filler | Replace or recondition the electrode using the approved preparation method | Tip inspection plus required weld disposition |
| Darkening mainly after arc stop | Gas delivery and post-flow sequence | Check coverage while the electrode cools | Repeatable stop sequence on a coupon |
| Rapid rounding or burnback | Polarity, AC balance meaning and electrode rating | Compare actual setup with the manual and WPS | Stable tip over a defined trial |
| Arc wanders after regrinding | Preparation geometry and grinding surface | Compare with a verified prepared electrode | Repeatable starts and recorded tip condition |
| Only one station has recurring faults | Torch parts, gas path and local work practice | Compare with a known-good station without swapping unrecorded settings | Station-specific cause and retest record |
Record the event sequence
A useful defect log separates before-start, during-weld and after-stop observations. Photograph the tip under consistent lighting, name the station and connect the image to the coupon or component identifier. Avoid comparing a magnified bright image from one shift with a distant dark image from another and treating the difference as proof of improved electrode life.
Assign a responsible person to each test. State what result would disprove the suspected cause before running the trial. For example, if a verified electrode remains stable on a reference coupon but fails on the production joint, expand the investigation to joint preparation, access and technique. Do not continue changing unrelated machine controls.
Why Does Tungsten Burn, Turn Dark or Lose Its Tip?
Check shielding before increasing gas
When the electrode degrades without a recorded dip, verify the gas identity and delivery path. Confirm flow at the torch under the operating sequence, then examine accessible hoses, fittings, seals and consumable assembly in accordance with the manual. A reading at the regulator alone does not document coverage at the working tip.
Drafts and excessive flow can disrupt protection; a higher regulator setting is not automatically a cure. Miller’s common TIG problem guide explains that inadequate coverage and turbulence can both contaminate the process. Use the argon flow and gas delivery guide to review units and the complete setup. Keep the proposed test inside the approved procedure.
Separate post-flow from welding-time coverage
A tip that changes primarily after stopping deserves a timing check. Observe whether gas continues through the intended sequence and whether the torch remains in position while the electrode cools. Do not adopt a single post-flow number for every electrode, amperage, torch and duty pattern. Confirm the manual’s guidance and the approved setup.
Verify polarity, current and AC balance terminology
For a suspected thermal problem, compare the connected polarity and actual mode with the required procedure. Check the electrode manufacturer’s current guidance for its classification, diameter and operating conditions. During AC welding, understand whether the display expresses electrode-negative time, electrode-positive time or a cleaning scale before making a balance adjustment.
Modern inverter and conventional AC systems should not be assigned identical preparation assumptions. Miller’s AC tungsten discussion describes how electrode heat and tip geometry interact. That explanation is not a GWELD model specification. Verify controls and limitations for the exact machine being quoted or operated.
What to Do After Dipping Tungsten into the Weld Pool
Stop, identify and preserve the affected work
When contact is observed, stop according to the site procedure and make the equipment safe before handling the electrode or changing torch parts. Record the location and stage of the weld. If a fragment may have entered the pool, preserve that information for the quality team. Continuing until the bead looks better does not resolve the disposition of the earlier section.
- Identify the component, seam and event time; do not lose traceability between shifts.
- Place the suspect electrode in a separate, identified container rather than the clean stock tray.
- Inspect accessible torch consumables after the system is safe, following the manual.
- Use a verified prepared electrode for the controlled restart trial.
- Obtain the required inspection or repair decision before releasing affected work.
Avoid using the production joint as a diagnostic coupon
A clean restart on the next weld may indicate that the electrode was part of the problem, but it does not prove the surrounding system is correct. Repeat the approved sequence on representative material with documented gas, electrode and machine settings. If the fault returns, investigate technique, joint access, material condition and the gas path rather than repeatedly replacing tips.
Review the working position with the operator without treating every event as a training failure. Restricted access, poor visibility, unsuitable torch assembly and inconsistent filler presentation may deserve separate trials. Record which constraint was changed and whether it improved the observation. A repeatable corrective action should survive the next shift, not only a demonstration by one experienced welder.
Tungsten Grinding and Reconditioning Controls
Remove the affected material without contaminating preparation tools
Tungsten grinding is a controlled preparation step, not simply making a dirty tip appear sharp. Where contamination extends into the end, follow the approved cutting and reconditioning method rather than smearing foreign material onto the preparation surface. Diamond Ground Products’ tungsten guidebook warns that inadequate removal can contaminate the grinding wheel and subsequent electrodes.
Use a dedicated, suitable preparation system and the wheel recommended for that equipment. Maintain longitudinal grinding marks and the specified tip geometry. A repeatable angle, flat and electrode length matter more than copying a visually attractive needle point. Do not snap brittle electrodes with improvised tools; use the approved cutting apparatus and its guarding.
Verify the prepared electrode before reinstalling
- Confirm that the electrode is the identified classification and diameter for this job.
- Check that the affected portion was removed using the approved method.
- Compare taper and tip flat with the preparation instruction or reference sample.
- Inspect for visible cracks, irregular geometry and unwanted deposits.
- Confirm usable length and safe fit in the actual torch assembly.
Record the grinder setup when multiple operators share preparation equipment. Specify who may change the angle fixture, replace a wheel or release a batch of prepared electrodes. Keep rejected and clean material physically separate. If several stations develop the same symptom after using one preparation station, review that shared step before blaming all the welders or all the power sources.
For purchasing, review the GWELD tungsten electrode grinder and request confirmed diameter coverage, preparation adjustment, wheel options and spare-part information. Product suitability must be verified for the proposed work; the presence of a grinder in the catalog does not establish that every electrode or dust-control requirement is covered.
Safe Handling, Storage and Shift Handover
Treat grinding dust as an exposure-control issue
Identify the electrode chemistry and consult its current safety data sheet and the site risk assessment before grinding or disposing of dust. Thoriated electrodes require particular attention to the dust generated during preparation. TWI’s discussion of thoriated tungsten highlights extraction and handling controls; its historical regulatory references should not replace current local requirements.
Use the guarding, extraction and personal protection specified for the equipment and workplace. Do not disperse collected dust with compressed air or improvise a household cleanup method. Assign maintenance and waste handling to trained personnel under the approved procedure. A visual inspection tray is not a substitute for a functioning exposure-control system.
Keep the clean supply distinguishable from returns
Create an issue-and-return process that makes status clear without relying on memory. The storage container should identify classification, diameter, supplier lot and preparation status. Return bins should be distinct from ready-to-use stock. If an electrode’s identity cannot be established, do not infer it from a partly removed color marking.
At handover, pass on the active job, approved setup revision and any unresolved electrode symptom. Record the prepared-electrode batch and the gas or torch changes made during the shift. The next operator should not repeat a failed trial because the only record was a verbal comment. Keep an accessible log near the station while retaining the controlled version in the quality system.
A practical audit asks whether a new operator can select the correct prepared electrode, identify a suspect return and retrieve the last accepted coupon record without help. If not, improve labels and workflow before adding more stock. This is a proposed shop-management check, not a claim that a particular storage arrangement guarantees weld quality.
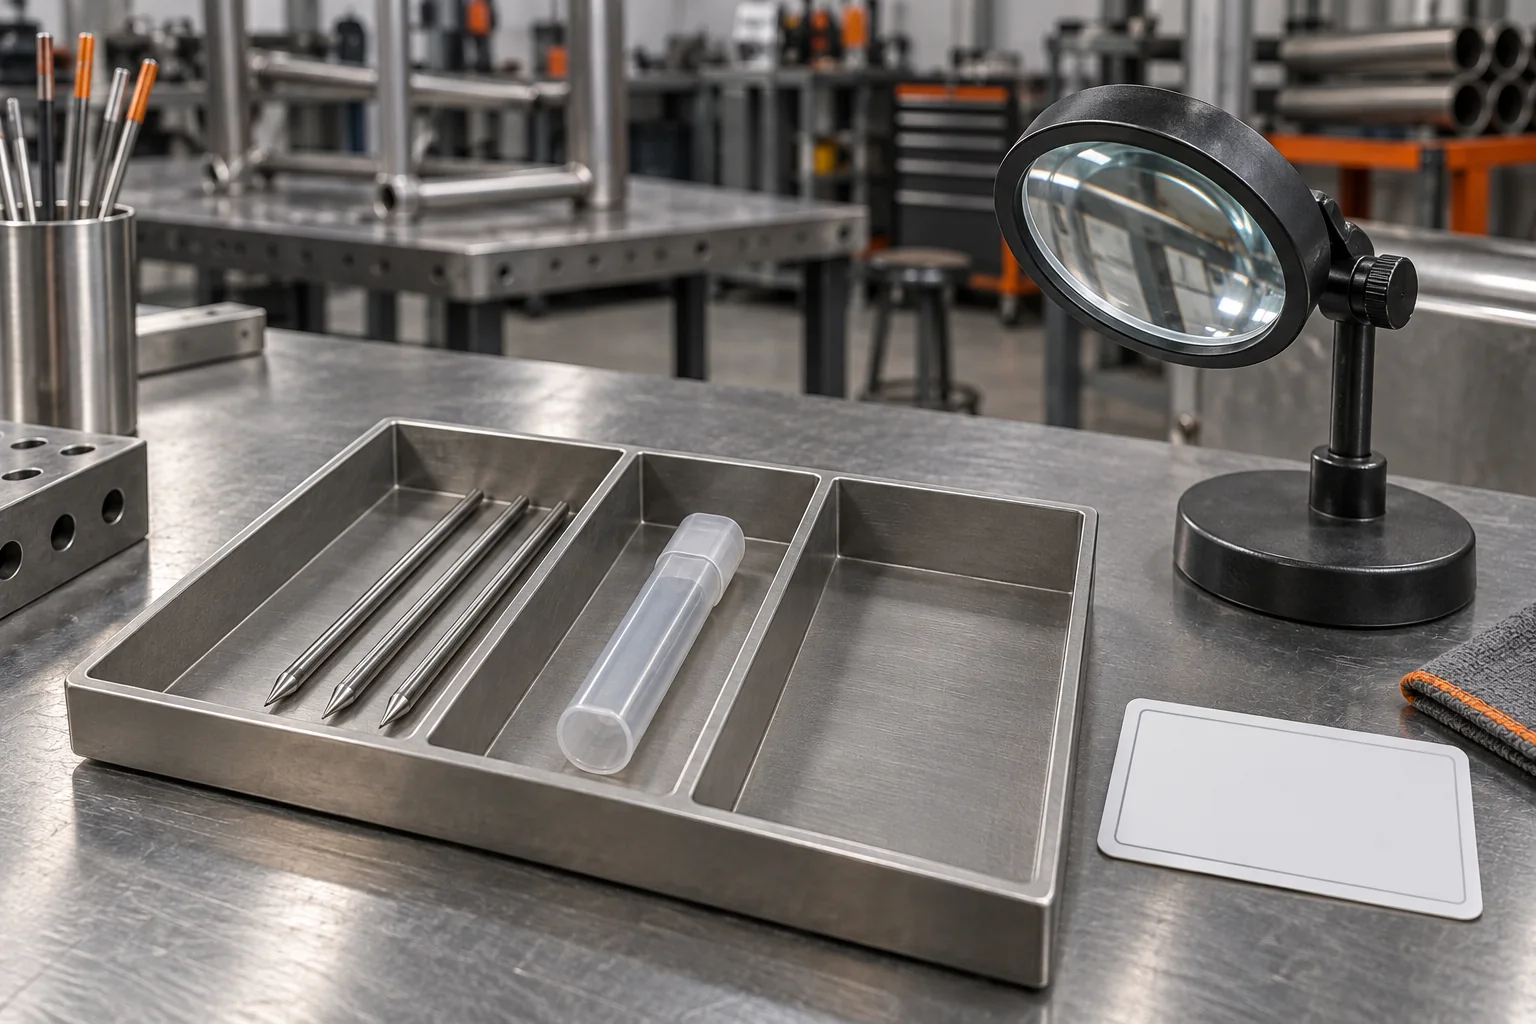
A Controlled Trial Before Returning to Production
Change one variable and define the acceptance route
Prepare a brief trial sheet before changing the setup. Include the suspected cause, the variable being changed, the fixed conditions and the observation window. Use a representative coupon and a preparation method permitted by the project. Welding engineering should decide when a proposed change requires procedure review or requalification rather than a routine shop adjustment.
Inspect the electrode at agreed stages of the trial and connect each observation to the weld record. Log arc-start behavior, interruptions, tip condition and any visible weld symptom without converting these notes into an unsupported acceptance claim. The inspection method and acceptance criteria belong to the applicable quality plan.
Use a compact, repeatable trial record
- Job and coupon identity; base material and joint representation.
- Machine model, mode, polarity and recorded setup revision.
- Electrode classification, diameter, lot and preparation details.
- Torch assembly, shielding-gas identity and delivery observations.
- Single changed variable and reason for the change.
- Before/after photographs taken under comparable conditions.
- Required weld inspection, outcome and authorization to resume.
If porosity remains after electrode condition is corrected, continue with the TIG welding porosity troubleshooting plan. If stainless pipe root protection is involved, manage it as a separate system through the TIG back-purging setup and QC guide. A clean electrode cannot establish the condition of the root-side atmosphere.
Keep the rejected trial as part of the record when it explains the corrective action. Record 'not confirmed' when the results do not support the original hypothesis. That prevents a temporary improvement from becoming a permanent undocumented setting change. Internal electrical troubleshooting and repairs should remain with qualified service personnel, not the operator conducting this process trial.
Procurement Checklist for Repeatable Electrode Preparation
Specify the workflow, not only the accessory price
For industrial purchasing, define the production context before requesting a grinder, torch kit or power source. State the electrode range, materials, shift pattern and preparation workload. Ask the supplier to confirm the relevant model options and documentation in writing. Do not assume that a photograph, a generic accessory name or a maximum output figure establishes compatibility.
- Preparation equipment: electrode diameter range, geometry adjustment and suitable consumables.
- Maintenance: replacement wheels, fixtures, inspection checks and lead times.
- Torch interface: series, collet fit, cup or gas-lens assembly and cooling requirements.
- Power source: required AC/DC operation, actual controls and supporting model documentation.
- Safety interface: guarding, extraction provisions and site assessment responsibilities.
- Support: manuals, setup assistance, parts identification and the agreed trial process.
Evaluate total interruption cost with your own records
Compare preparation time, rejected electrodes, stoppages and affected weld disposition using measured shop data. Separate equipment faults from operator contact events and material changes. Avoid treating all electrode replacement as preventable waste: some replacement is normal maintenance, while an abnormal pattern may reveal a specific process issue.
Request sample-based verification before scaling the setup to several stations. Define what will be demonstrated, who provides material and how the result will be recorded. Consider the training and spare-part plan alongside the purchase price. A successful trial on one joint does not prove suitability for every material and production cycle in the plant.
For an application discussion, send GWELD the material grade, joint access, electrode range, operating mode and description of the observed fault through the GWELD application enquiry team. Include the equipment model and the relevant setup record when available. Ask for a matched proposal, not a promise that one new accessory will eliminate all contamination.
这 TIG torch parts buying guide helps structure consumable identification, while the AC TIG production buying guide provides a separate equipment-selection framework. The present article focuses on electrode-condition troubleshooting; it does not replace either sourcing exercise.
Related Products

钨电极打磨机
用于完美尖端几何形状的高精度钨电极磨床,确保稳定的电弧和一致的焊接质量。.
- V系列使用了更坚固耐用的材料,延长了焊接机的寿命。.
- 可焊接不锈钢、铜、碳钢、合金钢、铸铁等。.
- 轻巧便携,适应各种环境。.
焊接气流量计调节器
用于氩气和二氧化碳保护气体应用的双级精准流量控制气体流量计调节器。.
- V系列使用了更坚固耐用的材料,延长了焊接机的寿命。.
- 可焊接不锈钢、铜、碳钢、合金钢、铸铁等。.
- 轻巧便携,适应各种环境。.
TIG 焊枪 WP-17 系列
优质TIG焊接枪,配有柔性电缆和符合人体工程学的手柄设计,适用于专业焊接应用。.
- V系列使用了更坚固耐用的材料,延长了焊接机的寿命。.
- 可焊接不锈钢、铜、碳钢、合金钢、铸铁等。.
- 轻巧便携,适应各种环境。.
相关解决方案


重型制造
重工业严苛需求的终极TIG焊机解决方案。我们的设备采用坚固的材料和周到的研发,可提供高强度不锈钢接头所需的精确控制,以及厚碳钢深层熔透所需的可靠动力。体验专业性能,平衡设计,专为最苛刻的制造环境而打造。.

维护与维修
为应对不可预测的维修需求而打造的终极 TIG 焊机解决方案。我们的设备采用坚固的材料和周到的研发,可提供精密的电弧控制,满足精致不锈钢维修的要求,同时还能提供可靠的动力,用于崎岖场地的维修。体验专业性能,尽享平衡的设计,它紧凑、便携,并经过精心设计,可让您的操作随时准备就绪,无论身处何地。.
Frequently Asked Questions
Conclusion
Treat TIG tungsten contamination as a recorded process event, not a reason to change every control at once. Capture when the tip changed, distinguish contact from shielding and thermal problems, and keep reconditioning separate from clean stock. Verify the correction on representative material and retain the required weld disposition before releasing production.
Consistent preparation, traceable consumables and a clear handover make troubleshooting more repeatable. When equipment or accessories are needed, request a GWELD application-specific proposal with the actual materials, electrode range, torch assembly and trial requirements. Confirm capabilities for the exact product configuration; no universal setting, electrode shape or purchasing shortcut can replace a qualified procedure.